Thursday, December 13, 2012

Final Excavations


These are a series of 11"x 15"
pieces that deal with excavation and the process of searching.  It is an idea I am happy with and might revisit later.  The photos are misleading in terms of quality and texture.  Texture is a key component here. 


Image Interventions


Image modification and re-purposing

Material Alchemy


Attempting to create drawings that disguise how they were made.
 
No part of the composition has more weight than the other (ideally) - the materials are indiscernible, etc

Sunday, December 9, 2012

Ephemeral Drawing


Temporary drawings executed in found glass

Thursday, October 25, 2012

The Future

This blog could use a change.

The banner, for instance, references a painting I did when I was fourteen.  That was a while ago. 

Any suggestions?

I will be updating it regularly now, with lots of goodies from my hard work here at RISD. The week is built around eight hour (per day) Drawing, Design, and Spatial Dynamics studios.

After cataloguing this years artwork, I will probably retire this site, and construct a more streamlined
www.keenancassidy.com

I am currently exploring which major I would like to declare - Illustration, Painting, and Apparel Design are on my mind.  I also plan on doing work in Glass and Film. 


Drawing Instruction

This is a drawing that is produced from a non-subjective set of instructions, developed by the artist - again playing with notions of mass-production in art. 

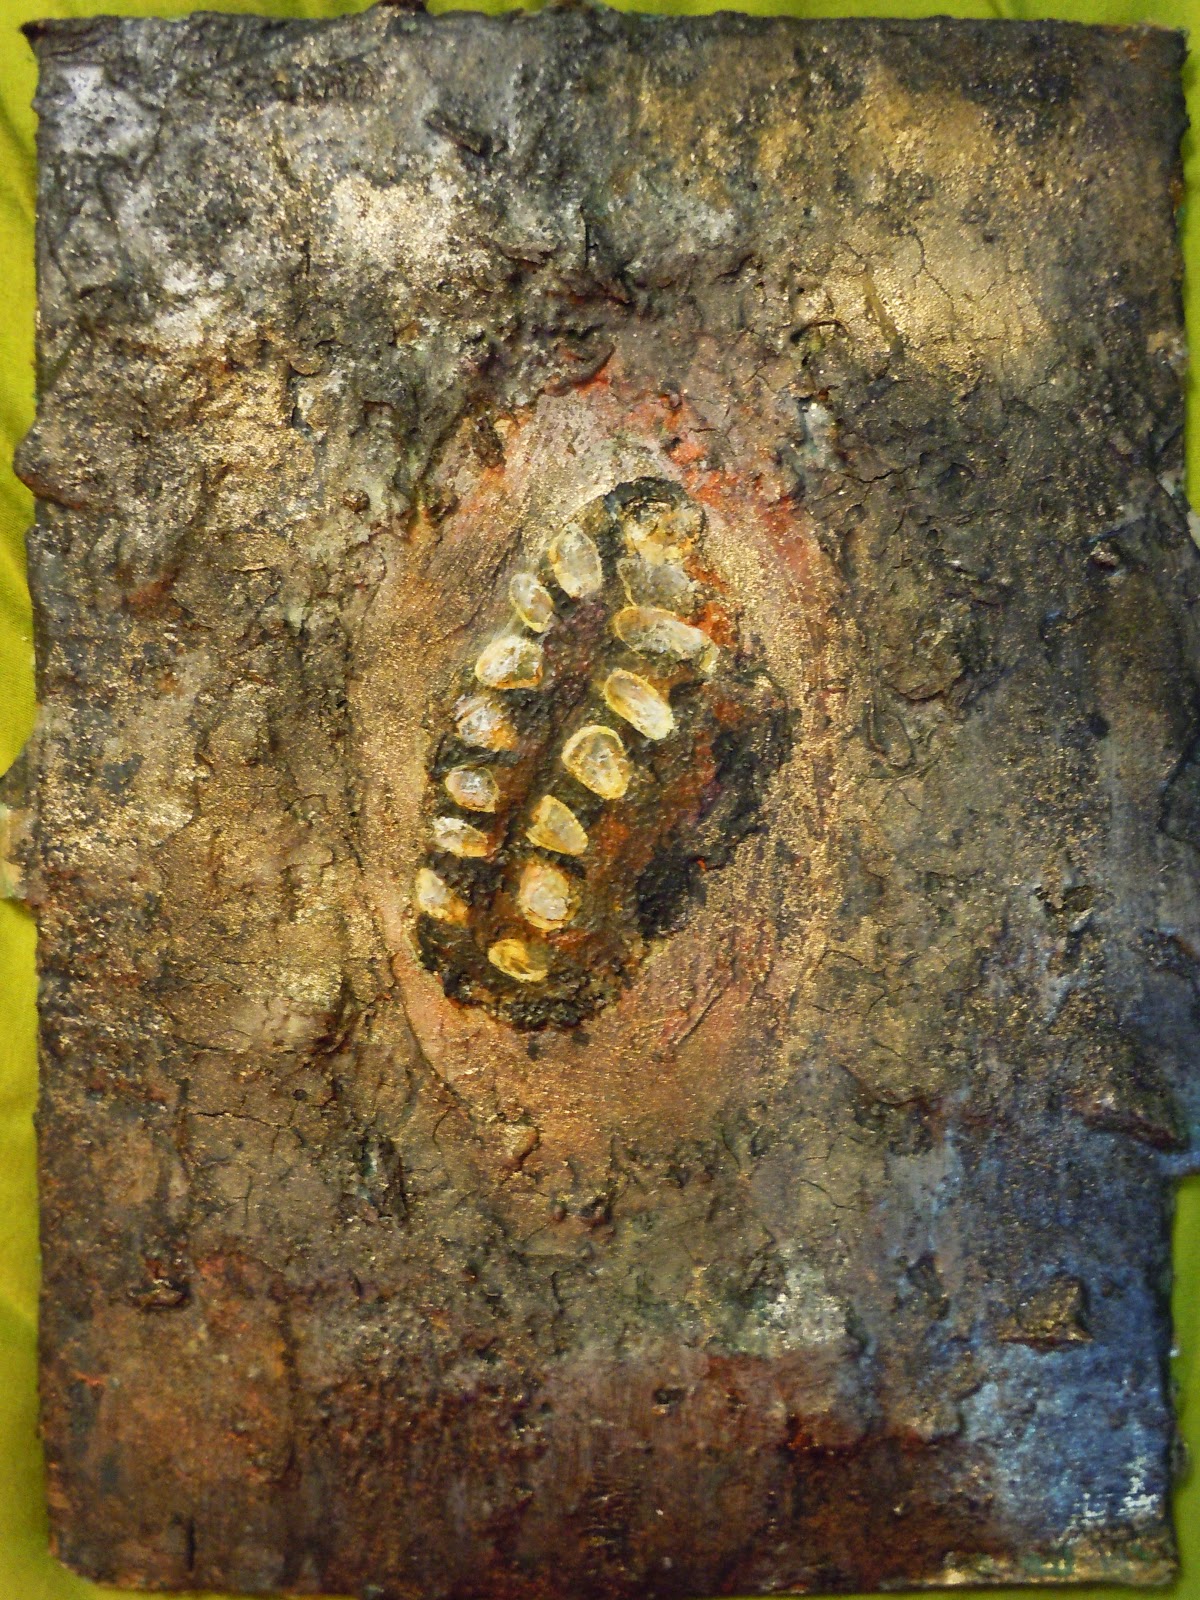
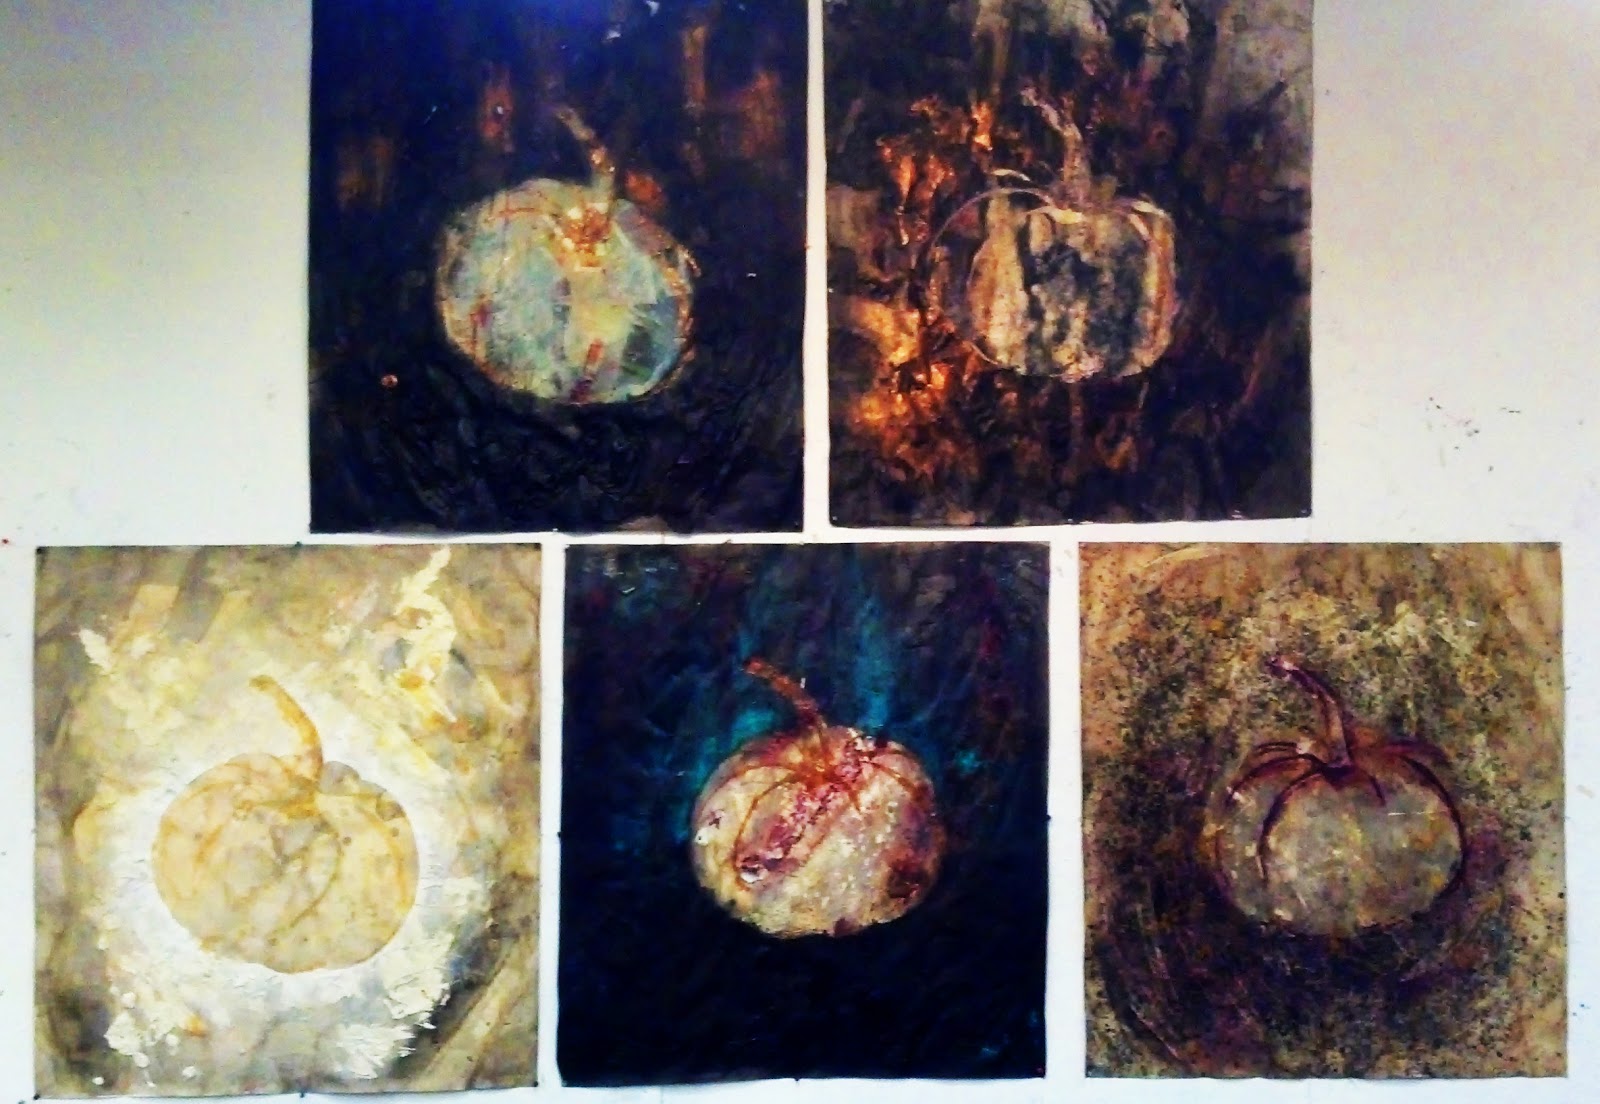
My concept was an acrylic skin, presented as an animal hide.  The result was more plastic looking, but the transparency and mystery of it worked very well.  My first tests were very garish and resembled deli meats.


Here are the final ones:


Here are the instructions:
 
 
Preparation:
Apply masking tape to an 18”x24” glass pane, forming a ½” approximate border.
Apply three even thin layers of Acrylic medium (Liquitex Pouring works well),
Blow dry between layers.
Execution:
In a cup prepare a 5oz mixture of medium and paint, 8:1.  Mix well. 
Starting off the surface, slowly pour horizontally right to left along the center of the glass. 
Go back and forth with the paint, forming a 24” stripe. 
(Some white space between pouring is acceptable.)
Tilt the glass pane (roughly) 30 degrees toward you, hold for 10 seconds.
Tilt the glass pane 30 degrees away from you, hold for 10 seconds.
Using a spray mister, spray water along the center of the glass (the initial stripe of paint) – the spraying should occur every other inch on the glass. 
Repeat the tilting process.
Let dry, and
Peel slowly.
 

Stenciling pt. 2

 
Here are the stencils, 30" x 40" roughly


Each paper was treated and worked heavily.  They were all first toned and stained with coffee.

 
Ink, modelling latex, hairspray, and other insanity


Coffee, Ink, and Graphite


Pushing texture to extremes with burlap and plaster


Carving the paper for sharp highlghts.  The process of these pumpkins is sculptural, repeated yet varied.  Stencilling proved to be very diverse and adept to producing a series of work. 
The final pieces will soon be cropped and I might take some decent photos of them.